
While the glue dried, I started cutting parts for the bottom piece. This piece will be the entrance to the hive, and since I want to keep the bees from building inside the entrance it will be limited to a bee space of 5/16 inch. I started by cutting and slotting the two top pieces.

Next, I cut two end pieces. These are 5/16 inch thick - this component will not be very tall.

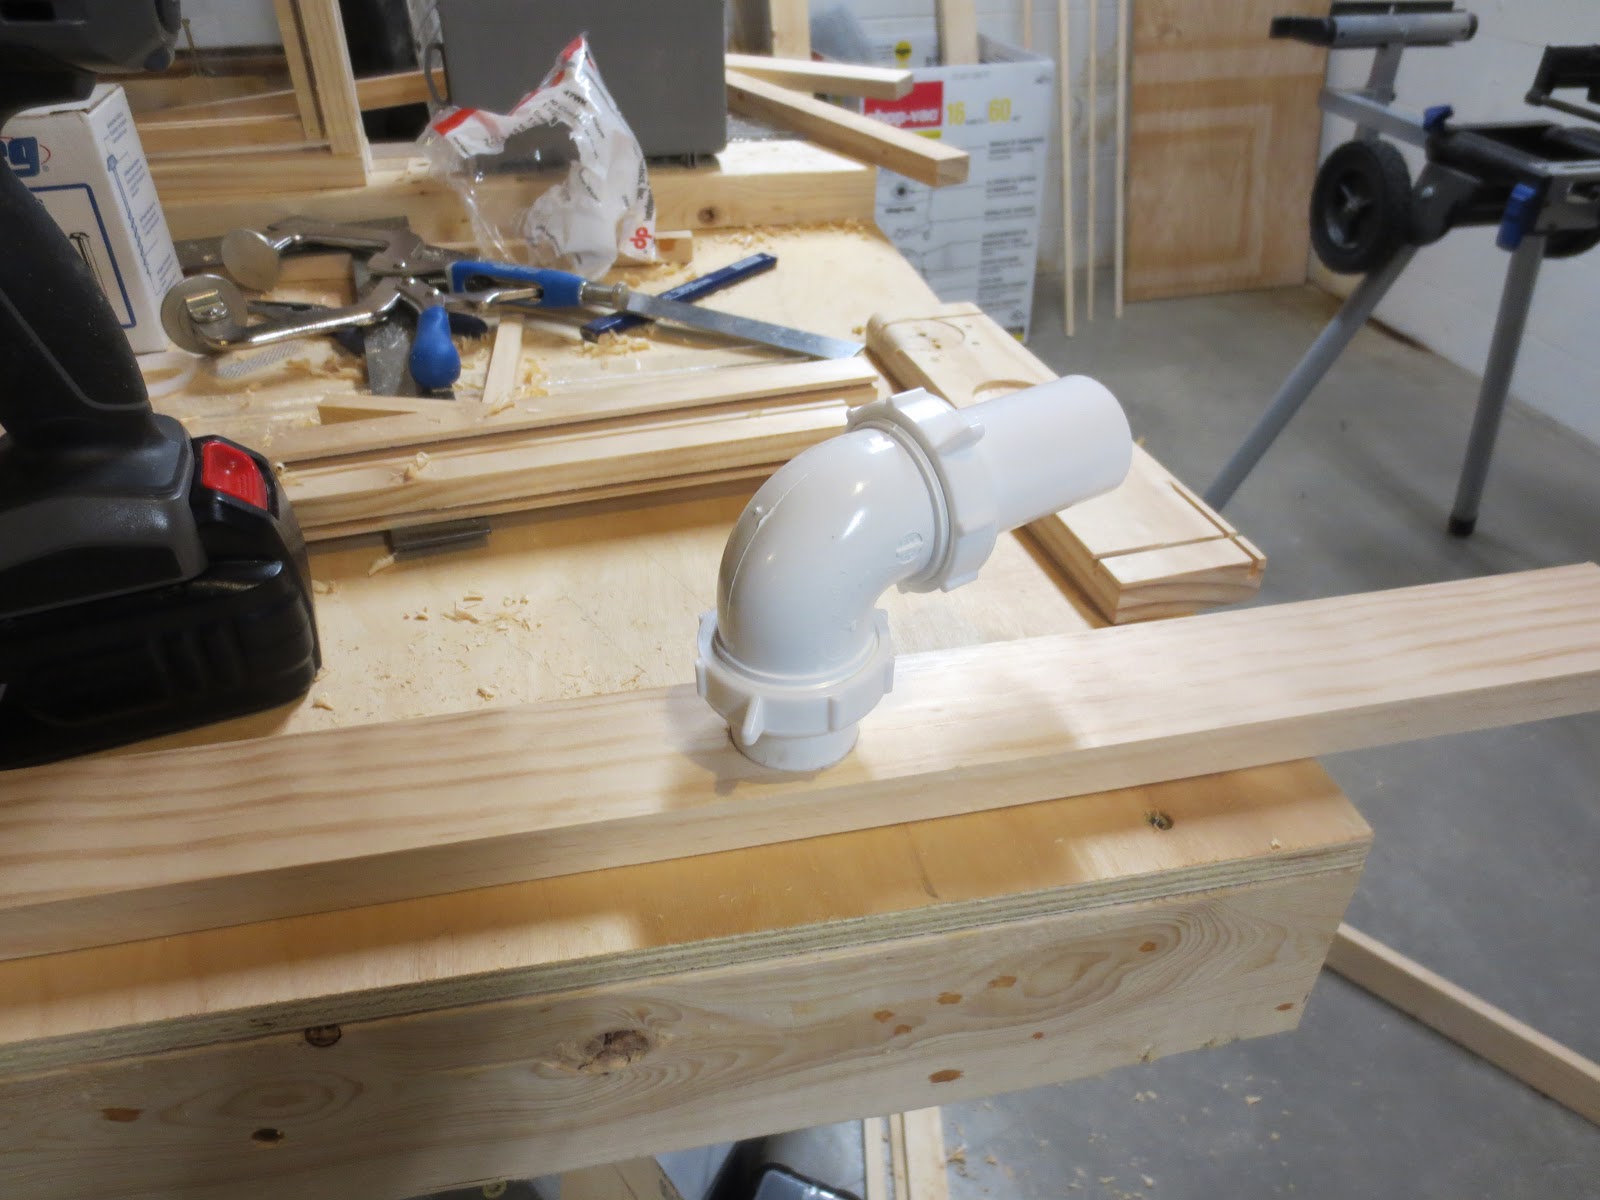
The base of this component is solid, because I don't want bees crawling out into my house. It's slotted to fit the window front and back, and you can see the next step in the project - I'll be moving to PVC for a short time.

Luckily I've become quite good at cutting flange mounts - all it takes is a 1.5 inch and a 1.75 inch forstner bit. I drill out the 1.5 inch hole about a half inch deep, then cut a 1/8 inch deep lip around the whole using the 1.75 inch bit. This allows me to mount a sink flange perfectly in the wood.

Because I need the hose to aim towards the window the bees will be leaving the house through, I'm using a 90 degree pressure-fit elbow.

This mount really went together well, I'm very pleased with it!
Unfortunately, it does mean some difficulty during assembly, because the pipe is in the way. Even so, the component fit together very well - it's not clearly visible in this picture, but there is a thin plexiglass window between the top and bottom pieces of wood. I'll be able to watch the bees exit the hive into the pipe.

Similar to the beelock, I shored up the middle of this component with a spacer.

Having completed the base of the hive, I moved on to the second beelock. This beelock is different from the other ones in the hive because I chose to incorporate a feeding station into it. My choice of feeders for these hives is an inverted 1/2 gallon mason jar with holes drilled in the lid. Due to atmospheric pressure and surface tension, the sugar water mixture in the jar will stay in the jar until the bees drink it, and boy do they drink it. My bees can go through a half gallon of sugar water in as little as a week. I also medicate the mixture to keep them healthy.
The feeding mount is a pretty simple structure, but I chose to wrap the outside of the mount in plexiglass so I can view the bees feeding. Therefore, I cut two 5 inch squares and slotted them for plexiglass. Then I cut two spacers for the outside edge and slotted them as well.

Because this mount will need to hold up against about 4 pounds of water, I'm attaching it with pocket-hole joinery instead of glue for strength. You can see the holes drilled for the joints in the picture below.

For the top square, I need to drill a 3 inch diameter hole using a holesaw. I clamped the piece and measured the exact center of the piece, then drilled the necessary hole.

Next up, test-fitting the plexiglass windows.

For this beelock, I needed to install all the risers as well as the top bars before continuing, because the top of the feeder mount needs to mount to one of the top bars.

I did a test-fit of the plexiglass windows before installing the top bars. It's difficult to see from the picture, but the windows on the near-side stop on either side of the feeder. This means the bees will have access to the feeder.

After installing the top bars, I mounted the top of the feeder with more pocket holes, then installed the plexiglass to the sides of the feeder and glued the risers in place. Not shown here: I decided I wanted more than glue holding the risers in place, so I installed more pocket hole screws top and bottom for strength.

Because I have several of the hive structure components built, I decided to start laying them out on the floor of my workshop to get a feel for the size of the project. Below you can see the bottom of the hive with pipe fitting installed, the first beelock, and the second beelock with feeding mount. I added the first cartridge I made to see how the cartridges will fit.

After I finished the feeding beelock, I next built the last two beelocks for the project. I did not take pictures of their construction because they're exact duplicates of the first beelock I created. I've laid them out as I did the others on the workshop floor, and sandwiched them in some of the pieces I will be using to build the cabinet for the hive.


My current task is building a half dozen more bee cartridges, so again I will not be taking pictures of their construction. In my next episode, I will be building the exit for the traversal pipe which will mount in the window.
Thanks for reading!
No comments:
Post a Comment